Moroccan Shower Routine: How to Recreate a Hammam Steam Experience in a Standard Shower
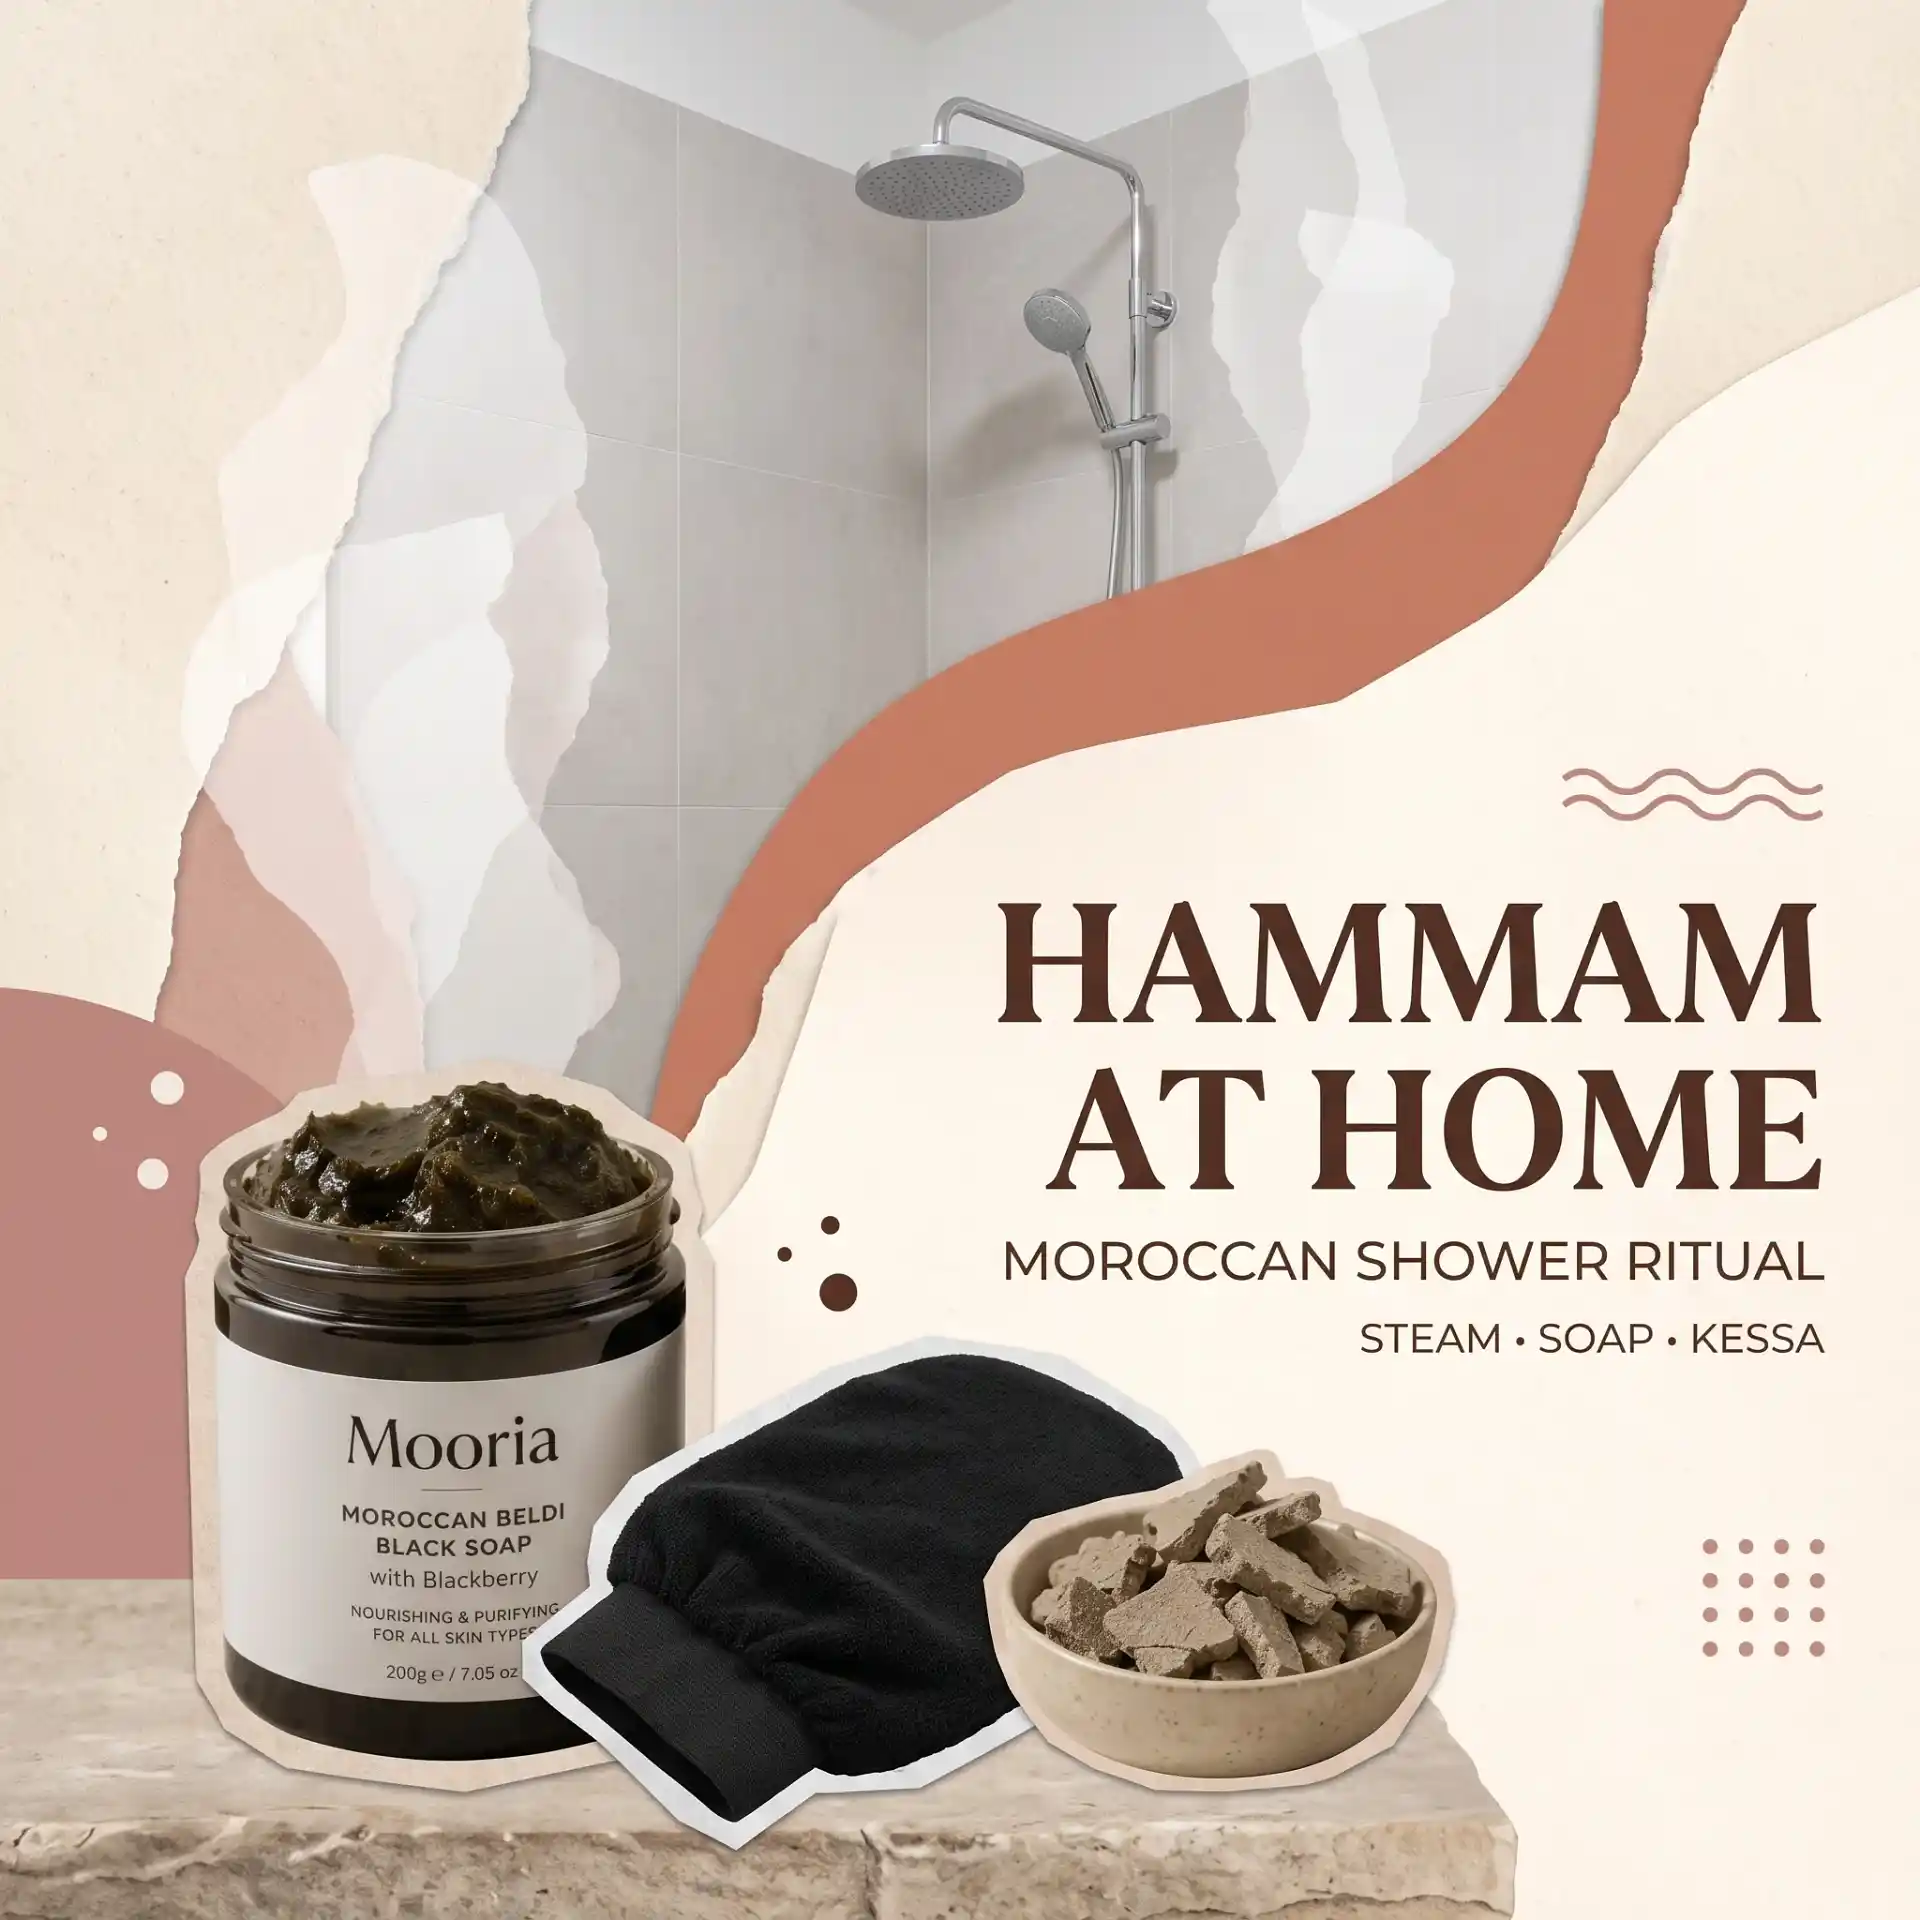
For centuries, the traditional Moroccan hammam has served as both a communal sanctuary and an intensive body renewal ritual. Built around multi-chamber steam rooms, botanical cleansing pastes, and methodical friction exfoliation, the hammam experience leaves skin uniquely soft, deeply detoxified, and thoroughly revitalized. However, you do not need a custom-built home steam generator or a trip to Marrakech to enjoy these benefits.
With a few strategic environmental tweaks and authentic plant-based staples, you can turn a standard domestic bathroom into an effective steam chamber. This comprehensive guide details a step-by-step Moroccan shower routine designed to adapt centuries-old hammam principles to everyday home plumbing.
Understanding the Hammam Philosophy: Heat, Softening, and Friction
To successfully replicate a hammam in a home bathroom, it is essential to understand the biomechanics of the traditional ritual. Unlike Western bathing practices that rely heavily on chemical synthetic surfactants and aggressive quick-scrub loofahs, the Moroccan bath relies on a precise three-phase synergy:
- Thermal Preparation & Stratum Corneum Hydration: Warm ambient steam elevates skin surface temperature, inducing mild vasodilation and relaxing the pore matrix while saturating dead skin cells (corneocytes) with moisture.
- Enzymatic & Saponified Softening: The application of olive-oil-derived soap breaks down lipid bonds holding dead skin cells to the epidermis without stripping natural moisture.
- Frictional Exfoliation: A textured viscose crepe glove rolls away loosened keratinized cells, revealing smooth, radiant skin underneath.
When adapted properly, this sequence delivers deep exfoliation while maintaining skin barrier health. Research published by the National Center for Biotechnology Information (NCBI) indicates that controlled thermal exposure combined with hydration significantly increases microcirculation and improves topical barrier permeability.
Phase 1: Transforming Your Standard Shower into a Steam Chamber
The greatest challenge in recreating a hammam at home is generating sufficient humidity in an open shower space. You can easily overcome this with a few simple environmental adjustments:
1. Seal the Bath Enclosure
Before running any water, close all bathroom windows and air vents. Roll up a heavy towel and place it at the base of the bathroom door to prevent steam from escaping into adjacent hallways. If you have a shower curtain rather than glass doors, pull it completely shut to trap ambient heat in the immediate shower enclosure.
2. The Pre-Heat Steam Run
Turn your shower knob to its highest temperature setting and let hot water run for 5 to 7 minutes before entering. Direct the showerhead toward the wall or floor rather than down the drain to maximize water surface area, which dramatically increases steam production. Safety Note: Always test and adjust the water temperature to a safe, comfortable level before stepping under the flow to prevent accidental thermal burns.
3. Botanical Steam Infusion
In traditional bathhouses, botanical aromas like eucalyptus, cedar, and orange blossom fill the air. To mirror this in a standard shower, hang fresh eucalyptus branches directly behind the showerhead stream, or place a few drops of pure eucalyptus or rosemary essential oil on the floor tile far away from direct running water. As steam rises, volatile aromatic oils vaporize, creating an inviting spa atmosphere that opens airway passages and refreshes the senses.
Phase 2: The Softening Phase with Moroccan Black Soap (Sabon Beldi)
Once your shower enclosure is filled with warm steam, step inside and soak your body in warm water for 5 minutes. Step back from the direct water stream so your skin stays wet without washing away topical preparations.
Now comes the cornerstone of the routine: Moroccan Black Soap (known regionally as Sabon Beldi or Savon Noir). This dark, gel-like paste is traditionally made from saponified olive oil and crushed black olives, resulting in a formula naturally rich in vitamin E and naturally occurring glycerin.
For a detailed breakdown of how this traditional paste works, explore our guide on what black Beldi soap is and how it functions. If your skin feels dull or congested, opting for a version infused with eucalyptus offers elevated clarifying properties, as outlined in our guide on eucalyptus black soap benefits.
How to Apply Black Soap in a Standard Shower:
- Scoop a small dollop (about two tablespoons) of black soap into wet palms.
- Smooth the paste evenly over damp skin from neck to toe, working in circular motions. The soap will form a light, non-foaming lotion-like layer.
- Stand out of the direct water stream and allow the soap to sit on your skin for 5 to 10 minutes while basking in the shower steam.
- Crucial Step: Completely rinse off all soap using warm water before moving to the exfoliation phase. The skin must be free of soapy slip for friction exfoliation to work properly.
Phase 3: Frictional Exfoliation using the Kessa Glove
With black soap rinsed away, your epidermal layer is thoroughly softened and prepared for exfoliation. This step relies on the authentic Moroccan Kessa glove—a specially woven mitten made from coarse viscose crepe.
Unlike plastic loofahs or chemical scrubs, the texture of a true crepe Kessa catches wet, dead skin cells and lifts them off in visible rolls (often referred to in Morocco as m'louk). To understand why this material performs so differently from modern synthetic sponges, read our analysis on viscose crepe Kessa gloves vs. synthetic loofahs.
Proper Kessa Scrub Technique:
- Wet the Glove: Thoroughly soak the Kessa glove in warm water and wring out any excess moisture. Do not add soap or body wash to the glove.
- Establish the Friction Angle: Step away from the running shower water so your skin remains damp, not dripping wet.
- Firm, Upward Strokes: Place your gloved hand flat against the skin and apply firm, steady pressure in long, vertical strokes. Move from ankles upward toward the heart, then across arms, back, and torso. Avoid circular scrubbing, which can create unnecessary tissue twisting.
- Watch for Exfoliation: Within a few passes, dead skin cells will begin rolling away. Rinse your body and glove periodically with warm water to clear debris.
"Physical exfoliation must always respect individual skin sensitivity. The goal is removing non-viable outer stratum corneum layers without causing erythema or mechanical irritation." — American Academy of Dermatology (AAD)
Phase 4: Detoxifying and Purifying with Rhassoul Clay
After rinsing off exfoliated skin cells, your pores are warm, clean, and highly receptive to topical minerals. In traditional bathhouses, this phase involves applying Rhassoul clay (also known as Ghassoul), a natural smectite clay mined exclusively from subterranean deposits in Morocco's Atlas Mountains.
Rich in magnesium, silica, potassium, and calcium, Rhassoul clay possesses a high cation-exchange capacity. This enables it to absorb residual surface impurities and excess sebum without stripping the skin's protective moisture barrier. Research on natural clays published in journals indexed by the PMC Scientific Repository highlights how smectite minerals bind to surface impurities while delivering essential trace minerals back to the cutaneous layer.
How to Apply a Body & Hair Clay Mask:
- Pre-mix 3–4 tablespoons of pure Rhassoul clay powder with warm water or rose water in a glass or wooden bowl until a smooth, mud-like paste forms. (Learn step-by-step ratios in our DIY Rhassoul clay mask guide).
- Smooth a light layer of clay across your shoulders, chest, limbs, and even into scalp roots if desired.
- Allow the clay mask to sit on your warm body for 3 to 5 minutes while remaining in the humid shower space. Do not allow it to dry completely hard or crack.
- Rinse thoroughly with tepid water until the runoff is clear.
Phase 5: Cool Rinse and Post-Steam Lipid Replenishment
To finalize your Moroccan shower routine, gradually decrease the water shower temperature over 30 seconds to deliver a refreshing, cool rinse. This helps calm the skin, lowers core body temperature, and closes skin pores.
Once you step out of the shower and gently pat skin with a fresh towel—leaving it slightly damp—immediately apply pure botanical lipids to lock in moisture and lock down trans-epidermal water loss (TEWL).
Optimal Post-Hammam Oils:
- Pure Cold-Pressed Argan Oil: Rich in oleic and linoleic fatty acids, vitamin E, and plant sterols, Argan oil provides deep nourishing hydration without clogging pores.
- Prickly Pear Seed Oil: An exceptionally rich source of vitamin K and essential fatty acids, ideal for delicate areas like the neck, chest, and under-eyes. Read our detailed comparison on Prickly Pear seed oil vs. Argan oil to choose the ideal post-shower treatment for your skin type.
Finish by misting warm skin with pure steam-distilled Rose Water or Orange Blossom Water for a light, hydrating, and naturally scented finish.
Summary: Recreating the Moroccan Hammam in a Home Shower
| Routine Step | Key Product / Tool | Primary Function | Duration |
|---|---|---|---|
| 1. Steam Enclosure | Hot Water & Eucalyptus | Traps humidity; opens airways and softens dead skin | 5–7 Minutes |
| 2. Softening Wash | Moroccan Black Soap | Enzymatically breaks down lipid bonds on keratinized skin | 5–10 Minutes |
| 3. Deep Scrub | Viscose Crepe Kessa Glove | Mechanically lifts away loosened dead skin cell rolls | 3–5 Minutes |
| 4. Mineral Detox | Rhassoul Clay Paste | Draws out residual surface oils; deposits trace minerals | 3–5 Minutes |
| 5. Hydration Seal | Argan Oil / Prickly Pear Oil | Restores lipid barrier; prevents post-steam moisture loss | Post-Shower |
Common Mistakes to Avoid During a Home Hammam Shower
- Scrubbing with Soap On: The Kessa glove requires friction against clean, damp skin. If black soap is left on during scrubbing, the glove will slide across the skin without picking up dead cells.
- Water Temperature Too High: Excessive heat can rupture superficial capillaries and trigger cutaneous inflammation. Aim for warm, comfortable steam rather than scalding heat.
- Over-Exfoliating: Deep Kessa friction exfoliation should be limited to once per week (or once every two weeks for sensitive skin) to prevent compromising the stratum corneum.
For additional variations on incorporating these steps into your self-care ritual, review our ultimate complete home hammam routine guide.
Frequently Asked Questions
Can I perform a Moroccan shower routine if I have a small shower enclosure?
Yes. Small shower enclosures are actually easier to transform because they trap steam faster than large, open bathrooms. Simply run warm water briefly, turn off or step away from the direct water stream when applying black soap and using the Kessa glove, and rinse when finished.
Why am I not seeing dead skin rolls during the Kessa scrub?
If skin cells are not rolling off, it usually means one of three things: your skin was not steamy or damp enough beforehand, you left soap residue on your skin, or your skin was recently exfoliated and has fewer excess surface cells to shed.
Is Moroccan black soap safe for daily shower use?
While Moroccan black soap is natural and gentle, its elevated pH makes it best suited as a weekly or bi-weekly softening treatment prior to exfoliation rather than a high-frequency daily cleanser for dry skin types.
Can I perform this ritual on sensitive skin or eczema?
If you have active eczema flare-ups, open wounds, or severe rosacea, avoid vigorous Kessa friction on affected areas. Instead, focus on the gentle steam, softening black soap wash, and soothing Argan oil hydration phase.